Showing posts with label CPU. Show all posts

Friday, January 23, 2015


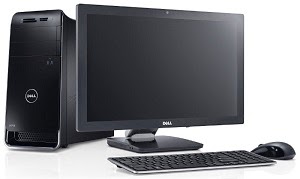
Desktop Computer Assembling is easy. It usually takes up to 30 minutes to assemble a Complete Desktop PC. In my other articles I have written about how to install various components of a Desktop PC. Today I am gonna take you through the steps of Assembling a Complete Desktop PC:


10. Install a Graphics Card (Optional).


12. Close the Case.


12. Start the Computer.

13. Install an Operating System (Windows, Linux, Mac etc.).

14. And finally its over.


Saturday, January 17, 2015


Installing a CPU Fan is complicated. I you can't attach it properly and it's loose then your PC will keep shutting down after you turn it on. Here is how to install a Processor Fan:


1. Grab the fan and put some thermal paste under the heat sink.

2. Put some thermal paste over the processor.

3. Turn the four black screws counter clockwise and pull them up.

4. Seat the Fan straight on the Processor port.

5. Insert the four plastic pins through the four holes on the Motherboard around the CPU port.

6. Push in the four screws in the holes and turn then clockwise.

7. Check if the fan is tight or not, If it's loose then attach the screws properly.

8. Connect the fan power cable to the appropriate Motherboard port beside the CPU port.


Installing a CPU in the Motherboard of your PC is quite easy. To insert a Processor you need to:

1. Open latch of the CPU socket to the side and pull the lid up.


2. Remove the Processor cover, grab it by its edge, avoid touching the pins.

3. Line up the CPU with the port correctly.

4. Gently insert the Processor into the port.

5. Close the lid and the latch.


Friday, January 16, 2015


Power Supply supplies electricity to a PC. To add a PSU with a computer you need to:


1. Remove the PSU cover.


2. Set the PSU in the case so that the screw holes of both the things are met properly (Usually at top).


3. Attach the PSU by adding the screws to the holes.


4. Grab the fat power cable and connect it to the motherboard's big main power port.


5. Grab the small 4 pin power cable and connect it to the power port beside the processor (CPU) port.


6. The other cables will be needed for optical and storage drives.